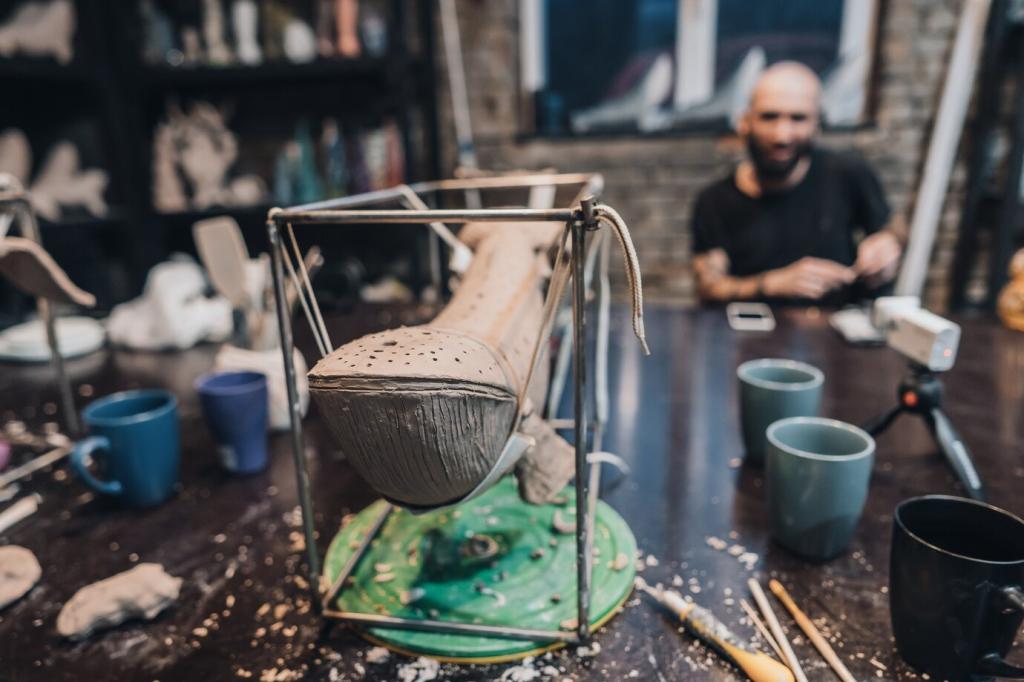
Chosen theme: Antique Furniture Restoration Techniques. Step into a welcoming workshop where tradition, sensitivity, and steady hands return dignity to timeworn pieces. We blend conservation ethics with practical, time-tested methods you can confidently try at home.
Reading the story in every scratch
Patina, worn edges, and tiny repairs reveal decades of use and care. Instead of erasing them, we interpret what happened and which techniques honor that history without forcing a false, glossy reboot.
Conservation first, restoration second
Whenever possible, we stabilize rather than replace. Loose joints get re-glued, lifting finishes are consolidated, and losses are filled sympathetically. The goal is longevity and authenticity, not showroom uniformity.
Document, photograph, plan
Take clear photos, sketch joinery, and label removed parts before any intervention. A simple plan prevents guesswork later and preserves provenance. Comment below if you want a printable checklist to follow step by step.
Working Like the Old Masters: Hide Glue and Joinery
Hide glue bonds firmly yet can be softened with heat and moisture for future conservation. That reversibility protects antiques from permanent mistakes and respects how cabinetmakers built them in the first place.
Working Like the Old Masters: Hide Glue and Joinery
Use cauls, cork pads, and light pressure to distribute force and avoid dents. Test your clamp setup dry, then glue, then clamp. Patience here prevents telltale clamp marks that devalue the piece.
Cleaning and Finish Revival Without Stripping
Start with a mild soap solution to lift grime, then move to mineral spirits to cut waxy buildup. Always work small areas, using soft cloths, and stop as soon as true finish begins to appear.
Cleaning and Finish Revival Without Stripping
Spot test discreetly: alcohol softens shellac, lacquer thinner affects lacquer, and neither usually disturbs cured oil varnish. These clues guide your approach so you clean, refresh, or re-amalgamate without guessing.
Veneer, Inlay, and Marquetry: Precision Repairs
Hammer veneering with hot hide glue
Warm the substrate, brush glue evenly, and press the veneer with a veneering hammer to squeeze out excess. The glue pulls the veneer down as it gels, securing a bond that matches historic practice.
Grain, species, and direction matter
Match veneer not just by species, but by figure and grain direction. Rotate offcuts until the chatoyance agrees, then cut patches slightly proud and level them flush only after the glue fully cures.
Mending lifted banding and stringing
Use warm hide glue and fine pins or low-tack tape to hold delicate strips. Fill tiny gaps with burn-in shellac sticks or tinted shellac. Tell us your hardest pattern match; we’ll troubleshoot together.
Surface Finishes: French Polishing and Color Harmony
French polishing demystified
Charge the pad lightly with shellac and a whisper of oil, moving in figure eights to avoid ridges. Build many thin sessions, letting the wood’s chatoyance glow rather than burying it beneath plastic shine.
Dewaxed shellac for clarity and adhesion
Dewaxed flakes dissolved fresh in alcohol give crisp clarity and great intercoat adhesion. Mix small batches, filter carefully, and date your jars. Tell us your favorite cut ratio for soft versus hard timbers.
Color matching without over-staining
Use weak alcohol dyes, layered glazes, and toned shellac to nudge color, not smother it. Feather edges and assess under daylight. Post questions about tricky mahogany fades; we’ll share measured recipes.
Hardware, Worm, and Long-Term Care
Cleaning brass without erasing history
Avoid aggressive polishing that flattens crisp edges. Clean with mild soap, non-abrasive polish, and cotton swabs, protecting surrounding wood. If lacquering, choose reversible coatings. Share any unusual locks; we love identification challenges.
Treating worm and consolidating damage
Confirm active infestation, then use appropriate, conservation-safe treatments and controlled heat or borate solutions. Consolidate punky fibers with reversible resins. Document everything, so future stewards understand exactly what you did and why.
Humidity, light, and daily habits
Keep relative humidity stable, shield pieces from direct sun, and lift furniture rather than dragging. Soft coasters and breathable chair pads reduce wear. Tell us your climate; we’ll suggest practical prevention strategies.